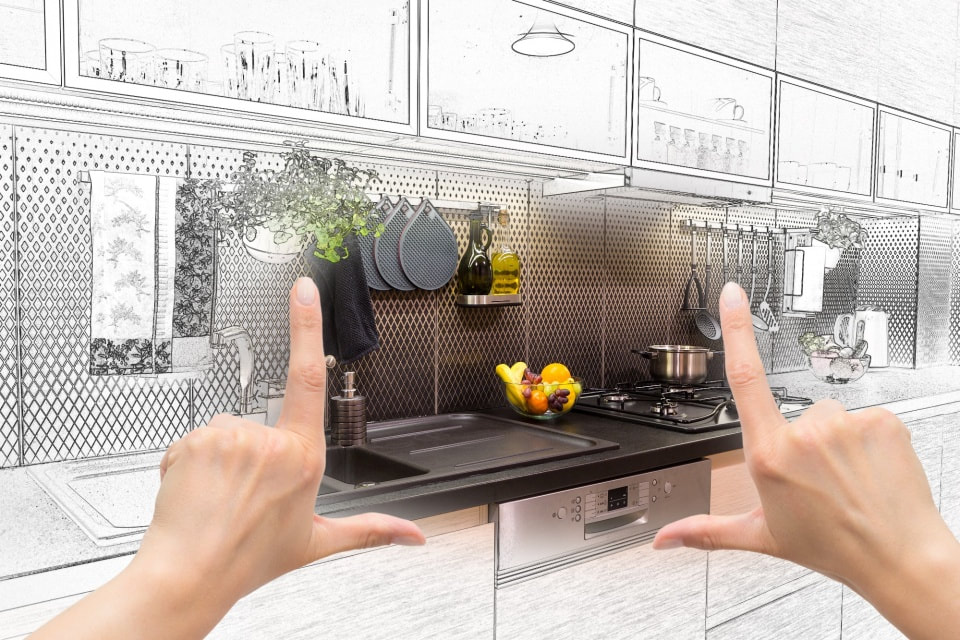
 When the kitchen cabinets and floor are in good shape, and more than a new coat of paint is needed to give a tired kitchen a face lift, consider replacing the kitchen backsplash. Old tile which reflects styles and tastes of years gone by can date a kitchen design faster than any other component. Removing the old tile and installing tile in line with today’s modern looks can brighten and update the kitchen design in just a few days. Remove Old Tile The first step of changing out a kitchen backsplash is to remove the old tile. If the kitchen counter is being replaced as well, this should be done first. Granite counters are usually slightly thinner than older counters; when replacing an old counter with granite, there is often a gap between the new counter and the tile backsplash. If the old tile is being kept, the gap can be filled with a color matched caulk. If removing tile, however, that gap can make an excellent starting point to begin removing the old tile. Whether taking advantage of the gap between a new counter and the old tile, or simply starting from one side, the old tile will need to be chiseled free of its mortar bed. To accomplish this, a hammer, and a 6” joint compound knife will be needed. Angle the knife at a 45 degree angle to the edge of the tile that meets the wall. Hitting the handle of knife with the hammer, push the knife forward under the old tile and its mortar. The old tile should begin to come loose from the wall, along with its mortar. This process may need to be repeated again to remove the last of the mortar after the tile is gone. The final substrate should be as smooth as possible, with little to none old mortar present. Continue going over the area with the knife and hammer until as much debris as possible is removed. Follow this process with a vacuum, and a damp sponge to remove the debris. 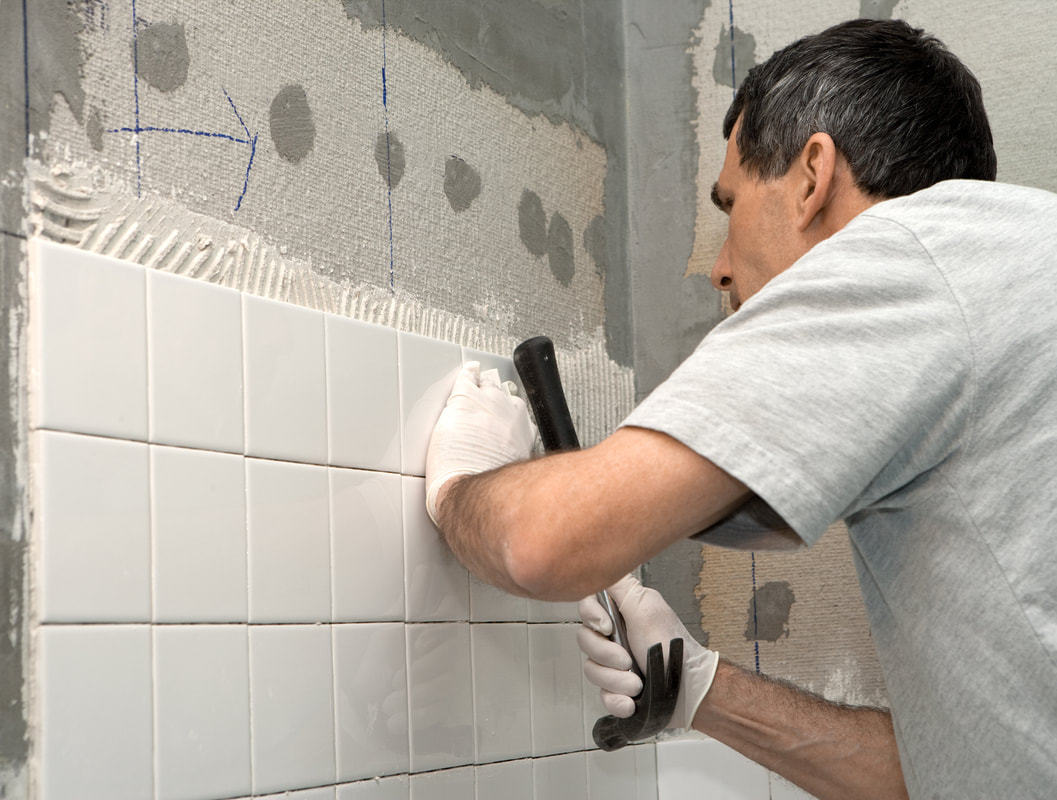 Preparing to Install the New Tile Before installing the new tile, it helps to do a dry layout of the new tiles. This can be done on the counters or floor in front of the backsplash, so that the homeowner has a visual of where cuts will need to be made. Keep an eye out for outlets and light switches, as well as how much of a grout joint will need to be left between the tiles. Glass tiles will need to have a minimum of 1/8” left between tiles for grout; never butt glass tiles together as they will crack over time from a shifting foundation. If installing tumbled marble, or a handmade ceramic tile, a grout joint of 1/4" to 1/2" will need to be left between the tiles to accommodate uneven edges or missing corners. Laying the tiles without mortar will help the homeowner to determine how much of a grout joint should be left, and therefore how many tiles can fit beneath the cabinet before a cut will need to be made. 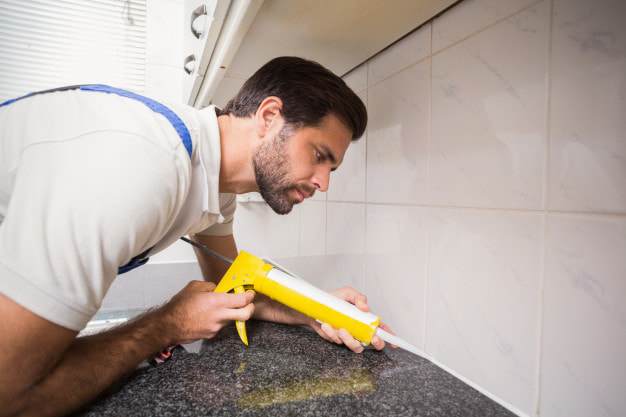 Installing the New Tile
Once the dry layout has been done and the pattern has been finalized with accommodations made for outlets and grout joints, begin to install the tile. Start from the center of each area being tiled, just above the counter top. Do not rest the tile directly on the counter, but leave a small joint for caulk of approximately 1/16" to 1/8". Move out evenly to the sides and complete each row before moving up. Leave a joint for caulk in each corner as well, to help the walls flex and guard against cracking as the house settles. If installing glass tile, be sure to smooth out the trowel marks on the wall; the shadows cast by the trowel marks may alter the color of the glass tiles if these marks are not removed. Follow the manufacturer’s recommendations for tiles which require back buttering or special setting materials. Allow the tiles to set for 24 hours before grouting. If sealing the tiles, do so a few hours after installation, prior to grouting. Installing a new kitchen backsplash will update any kitchen without any major renovation or invasive procedures. Consider installing a new kitchen backsplash in any older kitchen to brighten and freshen its design today. Comments are closed.
|

AuthorHello! Welcome to my blog. If you like, follow me. Archives
July 2018
Categories |
